Menu
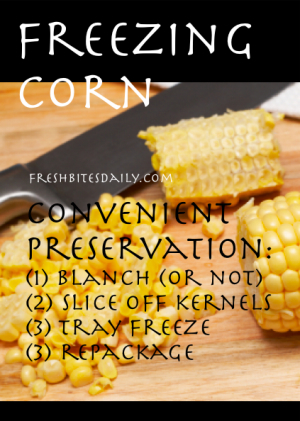
Freezing Corn
By Amanda Rose | Corn
 There is nothing like corn on the cob fresh from the garden. In years when we grow our own we might bring the water to a boil and only then harvest our corn and run it into the kitchen to be cooked. Freshness is that important.
However, throughout the year corn is great to have in recipes and that level of freshness just is not possible. Add to that fact that all of your corn ripens at the same time and you can only eat so much of it off the cob. During a hot summer week, you don’t want to hold it too long — it will just dry out and end up as compost. Freezing is definitely a solution.
I like the first freezing technique for small batches. If I have three extra ears of corn, it is nothing to cut some off the cob and tray freeze it for later use. You just need one cookie sheet a a quart sized freezer bag — little in life is as simple.
Drop your corn in soups or casseroles throughout the winter.
The problem with the non-blanching method is that the flavor quality of your corn will continue to diminish in the freezer. Just like we like to harvest our corn and plunge it into boiling water, it is ideal to blanch it as soon as possible after harvest. Blanching stops the breakdown of the corn flavor. Personally, I would never take this extra step for three ears of corn. Those kernels would become chicken food instead. For large batches, this will preserve the flavor of your corn best.
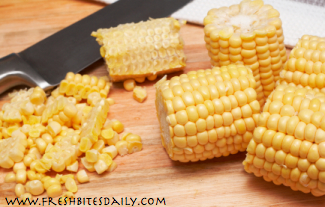
Take care in slicing those kernels off the cob, lest you lose a finger. I use a small but sharp pairing knife. You will have some corn left on the cob and, as a result, some waste. In our home, these become great chicken food. You can also compost them.
Corn in a mid-winter soup is heavenly, so do try to stash a bit of corn away.
Mexican grilled corn with a 5-star end result
Do you mind if I quote a small number of your blogposts as long as I
provide credit and sources returning to your site:
http://www.traditional-foods.com/food-preservation/freezing-corn/. I’m going to aslo be sure to give you the proper anchortext link using your blog title: Freezing Corn | Traditional Foods. Be sure to let me know if this is acceptable with you. Thanks