Menu
Make your own ghee with these tips from India
By Amanda Rose | Dairy
 Amanda’s note: Here is another great recipe from Ramya Venkateshwaran, writing in India from her website WildTurmeric.net. We asked her to share her process for making ghee (clarified butter) and were delighted with the wealth of experience evident in the article.
Ghee occupies an important place in Ayurvedha and is regarded very highly in India. Modern science is now confirming what has been taught by Ayurvedha for thousands of years that ghee/clarified butter is very good for health. Good homemade ghee has amazing health benefits and now nutritionists are advising us to use a little of ghee everyday to get its wonderful health benefits. I have been making ghee regularly for many years now and it is a regular part of our diet. We usually have little bit of ghee along with dhal, a lentil-based dish, for lunch.
We use ghee in our rituals and prayers and even use it externally on our skin.
Good quality ghee highly depends on the quality of the butter we are using, which in turn depends on the quality of the milk. I prefer to make my ghee with homemade butter that I get from organic, grass fed cow’s milk from our farm.
Making ghee at home is usually done in a thick-bottomed pan, such as a cast iron skillet, to prevent it from burning. Keep a close watch, especially at the end, to switch it off at the correct stage. When we make ghee at home, the whole house smells wonderful and usually the family members will be popping into the kitchen to see whether we are making any delicacies. All our traditional dishes are made with ghee and jaggery. My grandma used to insist that we make our sweets with freshly made ghee for the best flavor and taste.
To make ghee, start with butter at room temperature and heat it in a thick-bottomed pan over a medium- to high-flame. It will start bubbling up and sizzling. Once the sizzling sound completely stops and the water has completely evaporated, a nice beautiful smell will waft from it. It is now time to switch it off. In many homes, a sprig of curry leaves is added at the end for extra flavor but I prefer to make it without adding anything.
Switching off at the correct stage is very important. If left for a few minutes on the flame after the correct stage, ghee will turn brown and if left a bit longer, it will burn. Ghee should be golden yellow in color with a nice smell. If the flame is switched off before the correct stage, ghee will spoil soon. The best indicator for the correct stage to switch off is the wonderful aroma of the ghee and the sizzling sound also would have completely stopped. Once you get the hang of identifying the correct stage to switch off, making ghee at home is a breeze.
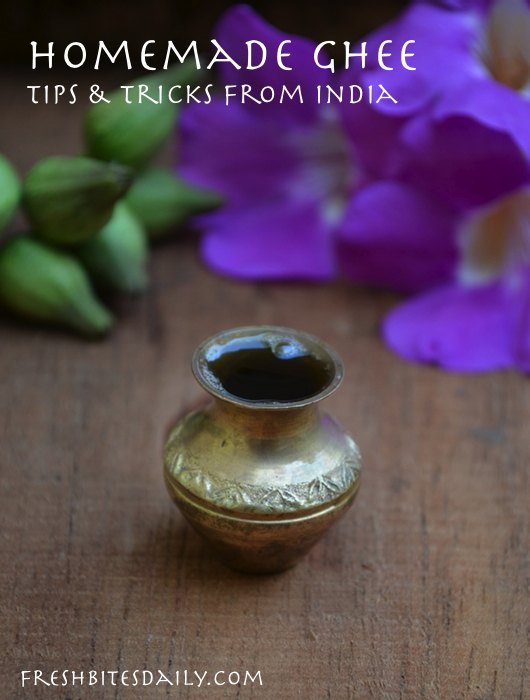
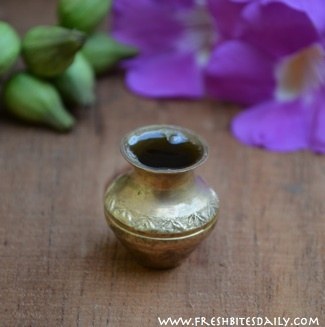
Ghee, once cooled down is usually stored in ceramic pots in the pantry. In India, each home has a ghee vessel, which is nothing but a small silver vessel only meant for serving ghee and it comes along with a small spoon. Everyday for lunch the required amount of ghee is warmed up slightly for lunch in the ghee vessel and served along with lentils and rice.
 Here are some ideas for using your homemade ghee:
Try some snow ice cream before winter comes to an end
Soda has replaced milk as America’s go-to refresher (and tips to give up soda)
Far better than “Cool Whip” — A honey-orange flavored whipped cream
Get the flavor of those little coffee creamers without the chemicals…
Whip your own cream for flavor, cost, and the best ingredients
A Fat-Fighting Fat May Be Lurking in Your Butter
Friends thought Hidden Valley had stolen this ranch dressing from us but it’s a classic that predates the bottle…