Menu
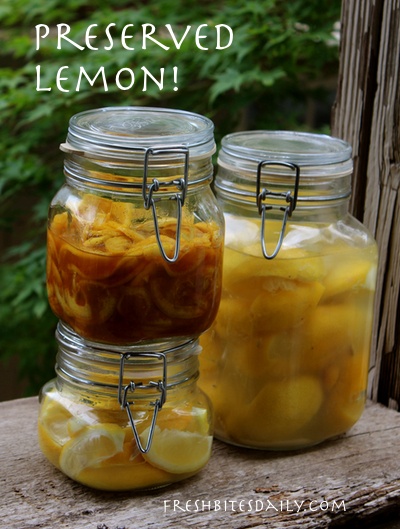
Preserved Lemons: 3 Methods To Preserve Your Lemons With Salt!
By Amanda Rose | Citrus
 Since you are even looking at this post, I assume you either love North African food or you have 337 ripe lemons on your tree in the backyard and you’re wondering what in the world to do with them. I offer you three tasty ideas.
Preserved lemons sound exotic to those of us in North America who have never even seen a tree loaded with this bright yellow fruit. Every locale and every cuisine offers examples of preserving their food bounty. I’ve seen large barrels of dill pickles on Pennsylvania farms, jars of pickled okra along the Gulf Coast, and bowls of pickled mixed vegetables on buffet tables in Kansas. When the crop comes bursting in, you do what you can to make it last. Pickling is one of the ancient arts of preservation.
The process of preserving lemons is quick and simple — so simple you will wonder if it will really work. The kicker, however, is that those lemons need to sit at least a month before being consumed. Those in the know recommend leaving the lemons to cure for at least six months.
Patience!
If you can keep your cool and wait that long, the juice will be sweet and thickened, the lemon texture soft and delicate.
Whenever possible, use tree-ripened lemons that have not been sprayed with chemicals or waxed by some over-zealous greengrocer. This is one of the times living in the citrus belt really pays off. If you are not living there, make friends with someone who does and then work out a bartering plan. It is well worth the effort!
This recipe is a wonderful variation on the standard lemon-in-salt that I learned from Yotam Ottolenghi and Sami Tamimi. These guys are just artists with food flavors and should be living next door. I would be at their house every day looking over their shoulders as they work their kitchen magic. I’d be asking question after question, sniffing the aromas and licking the emptied pots and plates. Dream on!
Here’s the next best thing: Jerusalem, the cookbook those guys wrote (find it here).
This recipe comes from their book with ingredients and method that are just a bit different from what you usually find for preserving lemons. It is still quick and simple. The following recipe will accommodate a half-gallon jar, depending on the size of your lemons. Reduce or increase the recipe based on the lemons you have available. When we are offered multiple bags of ripe organic lemons, I can consider filling a couple of glass gallon jars. You might as well.
This recipe also comes from Jerusalem by Yotam Ottolenghi and Sami Tamimi (find it here). What an inspiring cookbook! This recipe will be ready overnight if you are feeling anxious to get started on your pickled lemons. The flavor is fantastic.
Stored in a sterilized jar with a tight-fitting lid, your lemon pickles will live happily in the refrigerator for about two weeks (if they last that long). Every time you open the refrigerator and see the pickles, you will want couscous, chickpeas, felafel, and more. Then you will want some honey wine to wash it all down. If you get going on these lemon pickles, you will start down a path to all sorts of simple and simple delectable North African dishes.
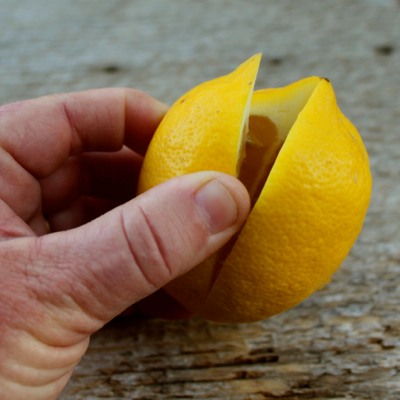
Steps
Actually, you will find some clever way to taste test these lemons before they get refrigerated. Enjoy! These are sunshine in a jar.
Keto Chocolate with Lavender!
Homemade Citrus Extracts, Capture the Brightness of Your Citrus!
Pink lemonade (plus an important discussion on “brown lemonade”)
✅ Pickled orange and onion in a vinegar base, a great addition to salads!
The world’s best homemade lemonade with a secret ingredient, in the big reveal from the “Half Pint Hacks”
A refreshing and simple citrus soda mix, ready for your seltzer
Dried Orange Slices: How to Make and Use Them For More Than Just Decorations
And you wondered what to do with all that orange peel … perfect gifts!